Estimated Reading Time: 5 minutes
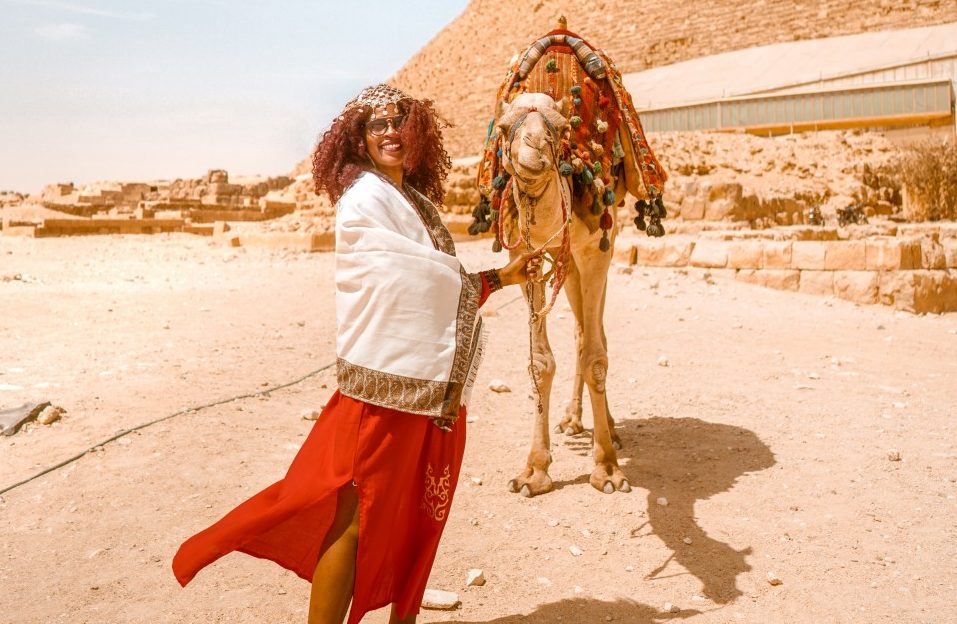
This post is sponsored by Adobe Lightroom, but as always, all opinions, words, and sessy @$% photos are my own.
Photography has been a passion of mine for several years, and ever since I discovered the magic in capturing and sharing art as you see it, with the world, I’ve been hooked.
Of course over time, my style has evolved and I cringe to the point of pain when looking back on my first did I really call this art? type of photos from when I bought my first DSLR in college.
But when it comes to stunning photography, the biggest secret photographers won’t share is that oftentimes the editing and post-production of a raw image is what accounts for a large part of what can make or break an image.
And all the best photographers and instagrammers in the game are editing with Adobe Lightroom.
Here's how to use Adobe Lightroom to edit your photos and instantly improve your photography! Click To TweetIf you’re someone like me who spends the better part of your day on Instagram ogling over wanderlust-worthy photos in picturesque destinations in far off exotic lands (pretty much implanted in millennials’ DNA), I’m sure it’s easy to think that you could never produce a photo just as magical.
But that magic is largely in the editing; so if you can master that part, then you’re halfway there!
So when it comes to great photography, I break it down like this:
VISION + CREATIVITY
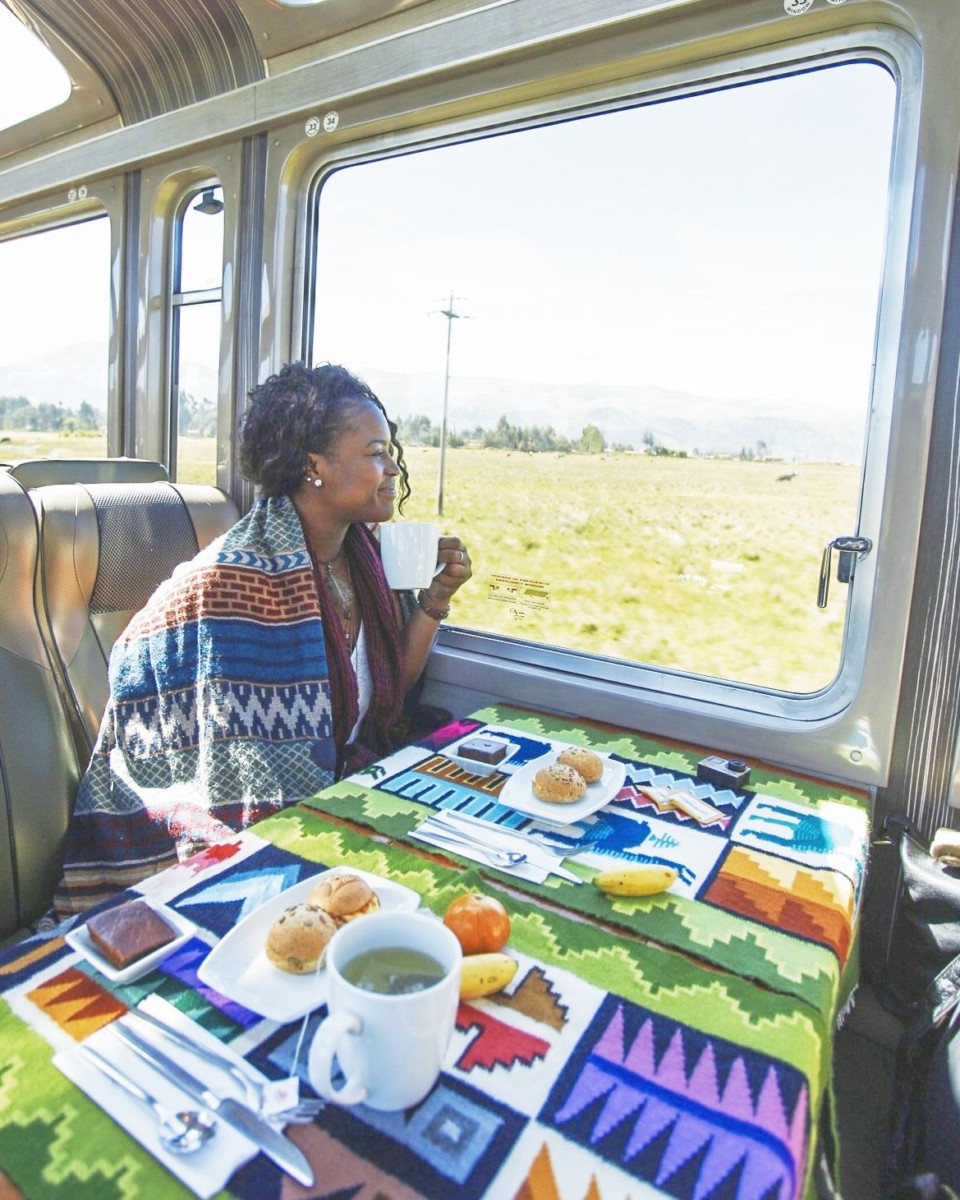
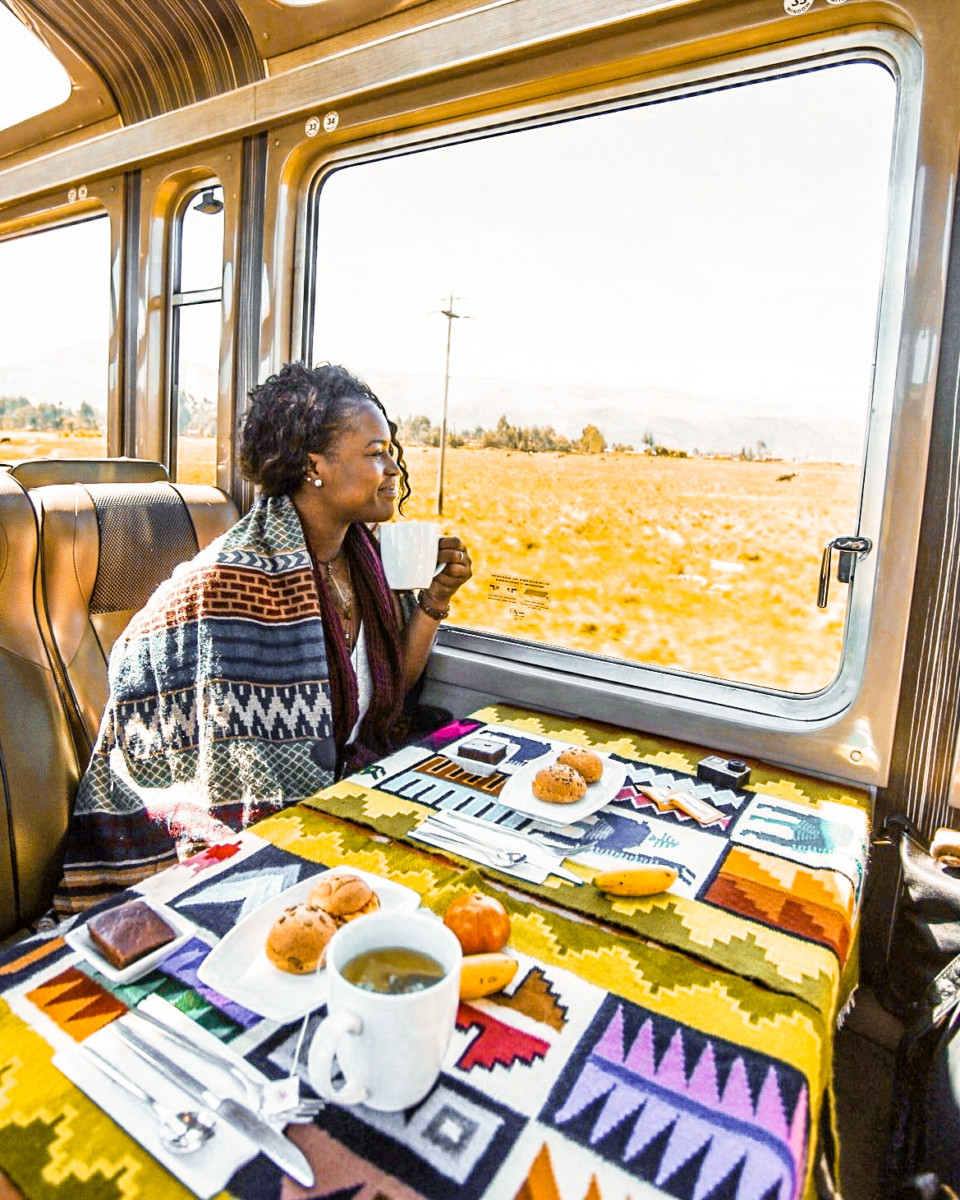
Some might squat down or arch their back; a few might angle upwards, or zoom into a particular subject. But in general, each person will capture the scene slightly different than the next person.
Everyone’s interpretation of art and reality is different, and that’s the beauty in photography.
One’s ability to frame and compose a shot is such a skill and it’s something I’m constantly trying to push myself to improve.
Creativity can’t be taught, but you can definitely practice pushing yourself to try new things while experimenting with your camera.
CAMERA BODY + LENS
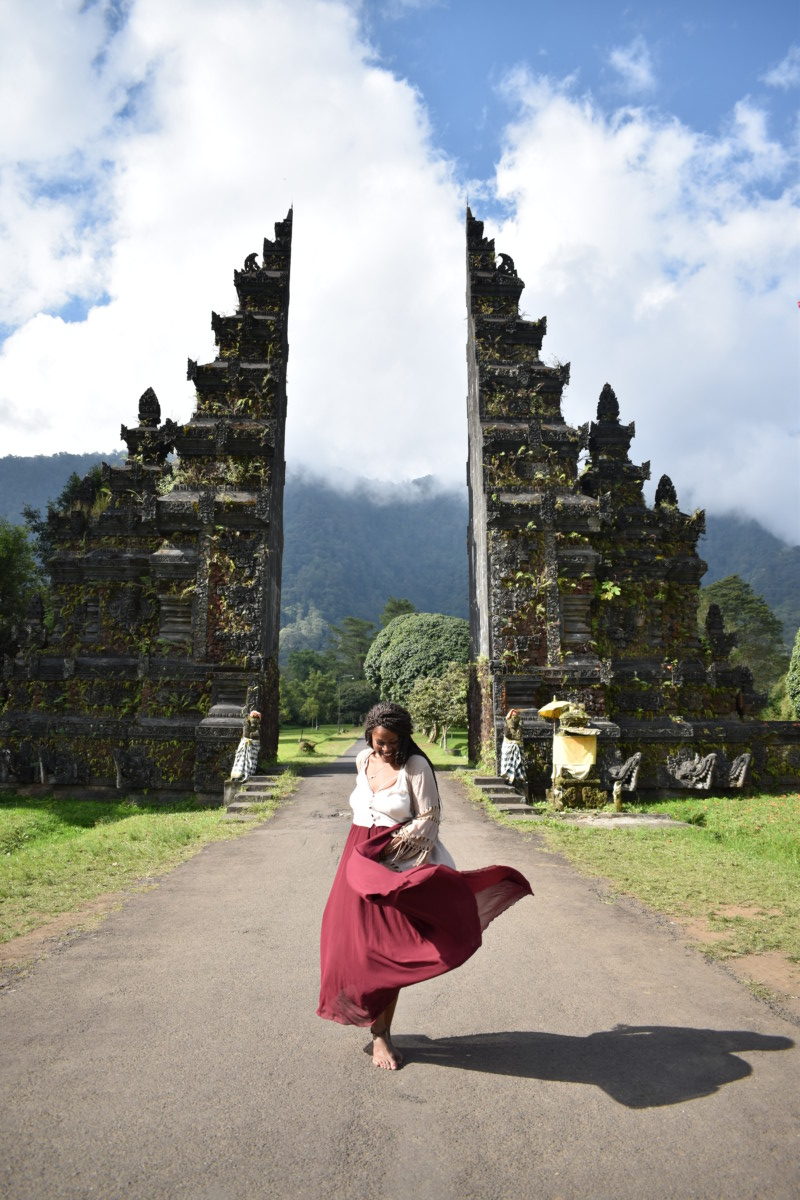
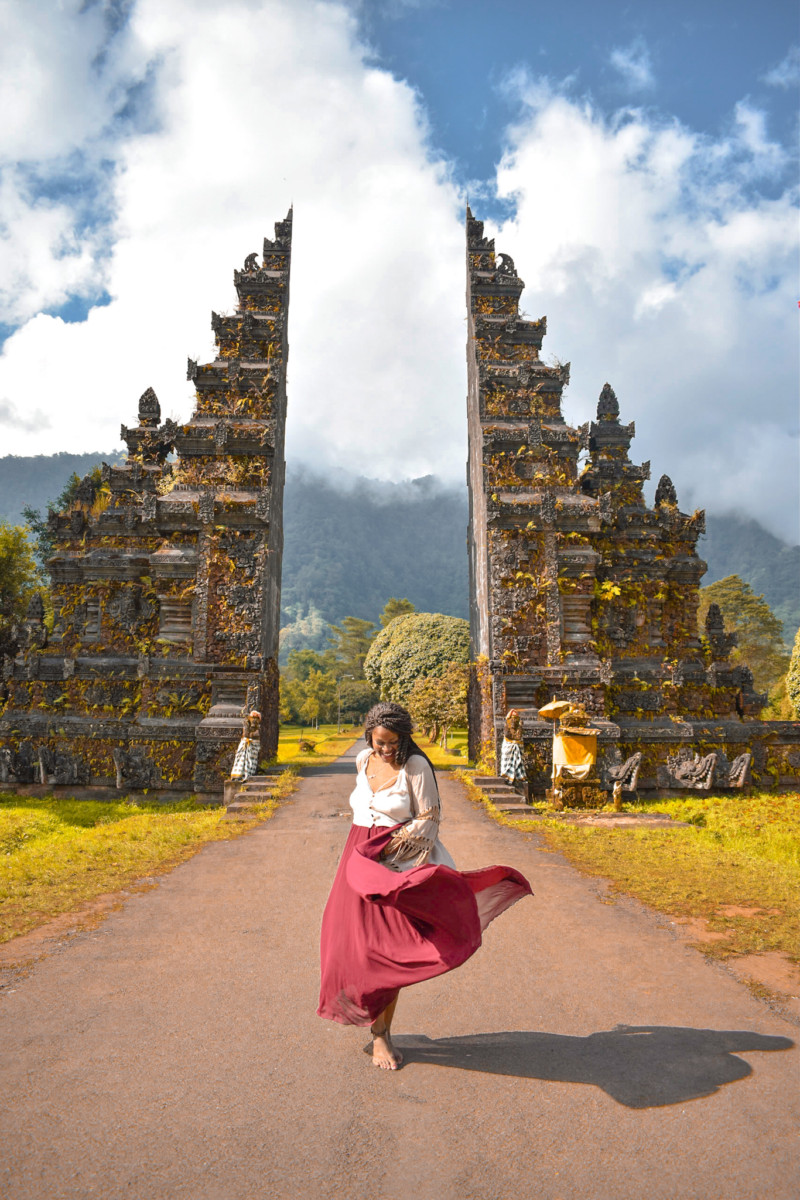
The camera body and lens play a massive part in the quality and depth of field shown in a portrait or photograph.
I always encourage people to invest in a good lens because the camera body alone will do the job, but a proper lens will take your photos to the next level.
The camera equipment used for all the photos in this post are a Sony a6000 with a 50mm and 16mm lens, as well as a GoPro Hero 6.
EDITING STYLE
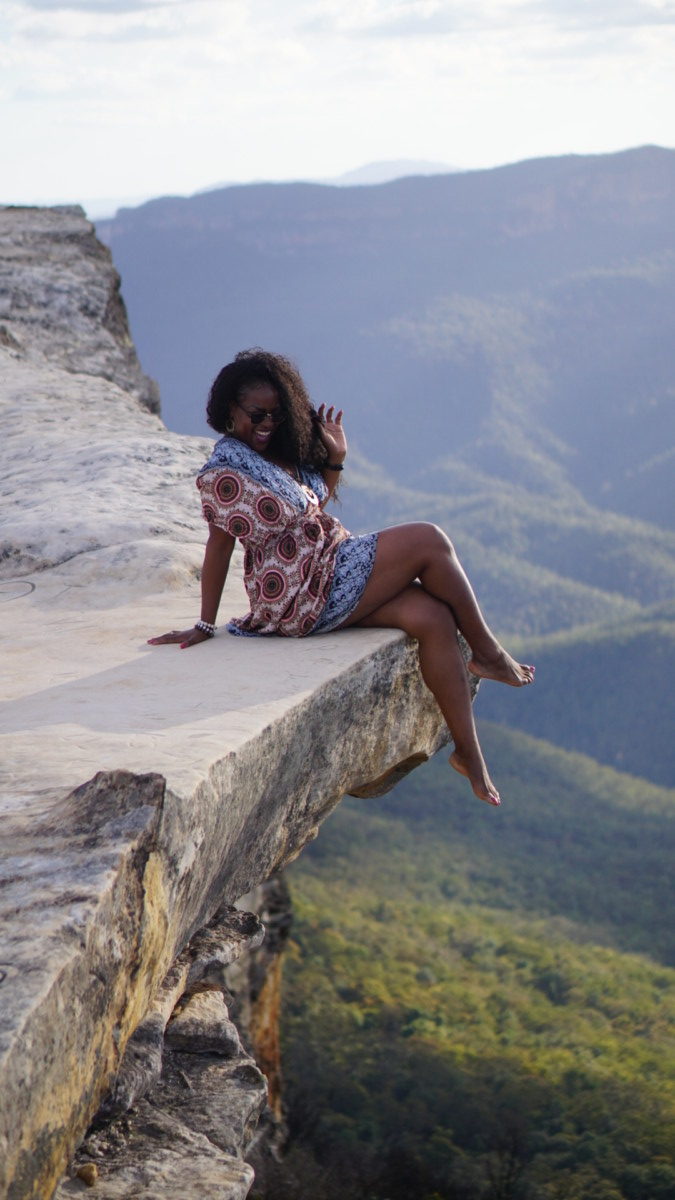
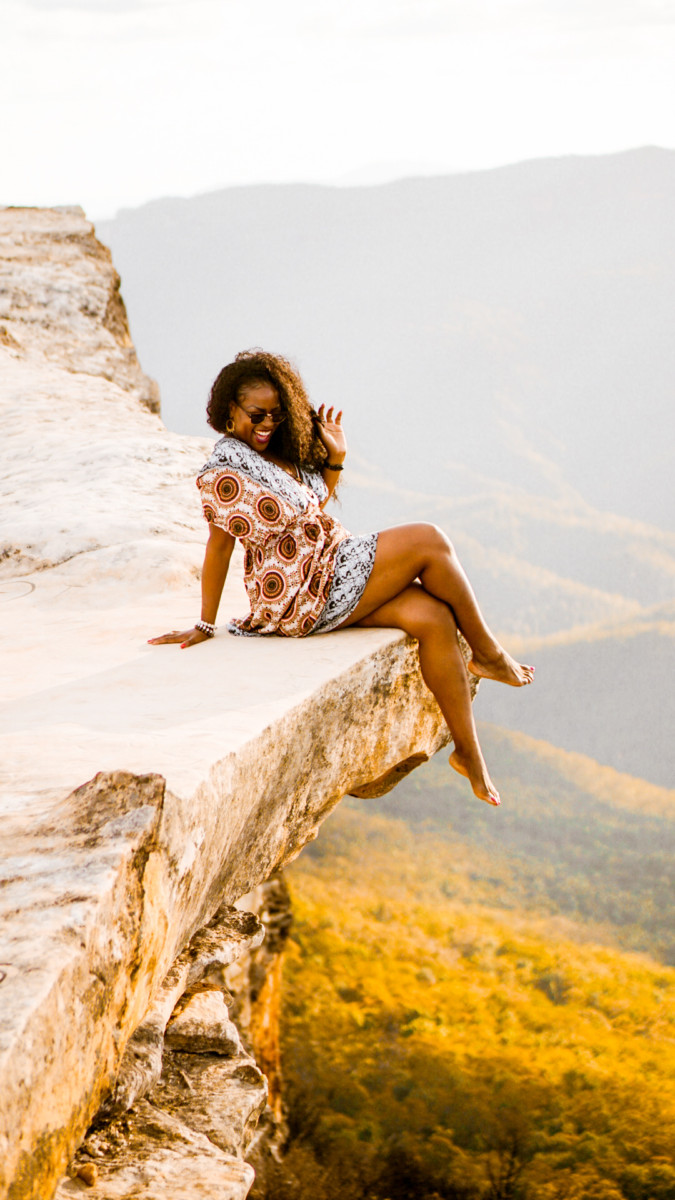
Now comes the most important part and the reason for writing this post — how to edit!
Editing is an art, and it’s fun! And Adobe Lightroom has been around for ages and everybody from professional to photography enthusiasts use it daily to edit their photos and curate their galleries.
As a full-time travel blogger, life on the road can be hectic, so when I discovered through my best friend Greg that Lightroom had a mobile app that was basically an extension of the desktop software, I was ecstatic.
Initially I had my doubts, as I wasn’t sure I could do everything I was able to do on a desktop, but I was blown away at how simple, user-friendly, and efficient the app was, and now I hardly ever use the desktop version, ha!
BASIC EDITING TECHNIQUES

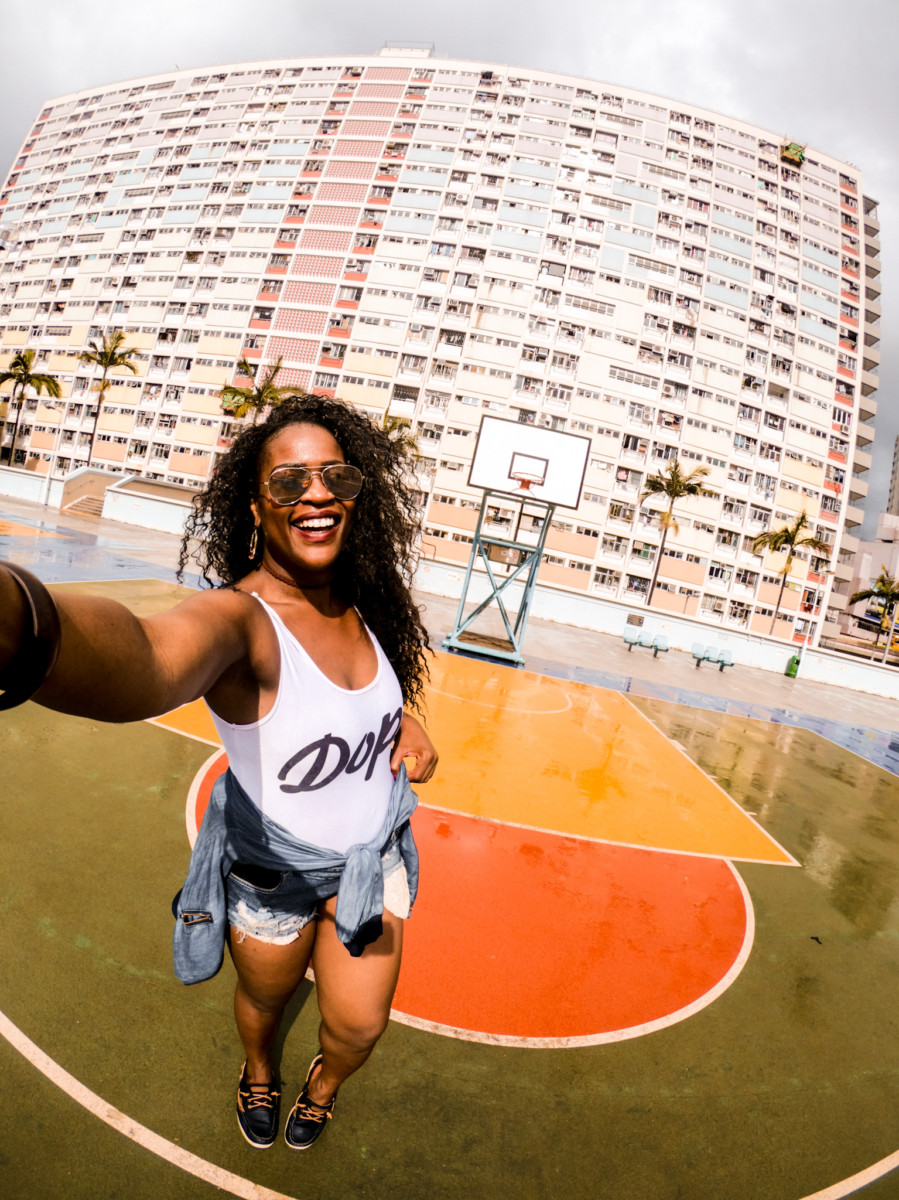
Brightness
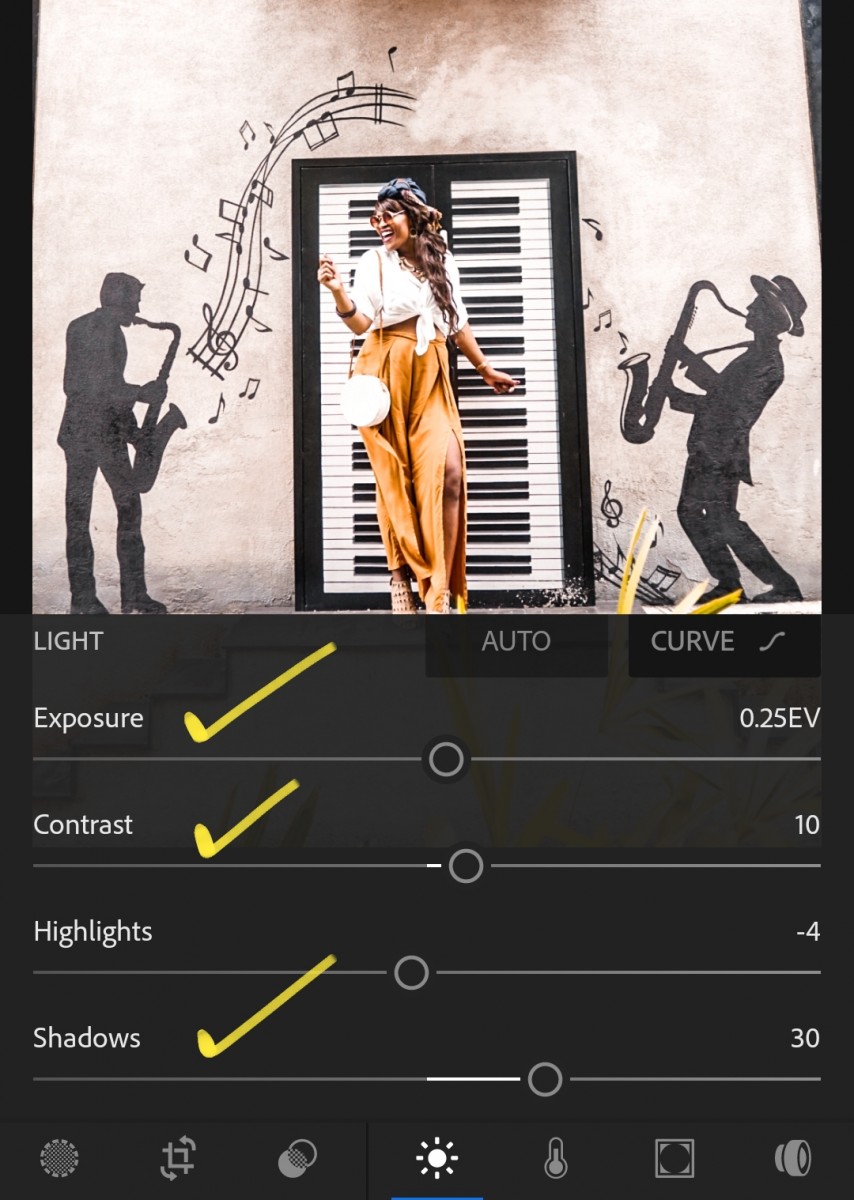
The very first thing I do when I open up the app is increase the brightness, because I like my photos to be bright and vibrant (like me *cough*), so in my personal editing style, I try to bring that out in every photo.
Contrast
Adjusting the contrast of a photo is a little similar to adjusting the brightness, except you’re focusing on the darker tones of the image — increasing or decreasing its strength.
Shadows
Shadows are something I tamper with pretty moderately because if you overdo it, you risk pixelating your photo and lowering the quality. Shadows should only be adjusted to complement the adjustments already made with the brightness of the photo.
Saturation
Playing with the saturation is the easiest way to set a photo apart, but this step MUST NOT be overdone as well. If rainbow diarrhea is your style, then more power to you, but again, like every other thing in life, it’s best to practice in moderation.
Clarity
The clarity of a photo is like a mix of sharperning and adding contrast to an image. Depending on the setting of the photo, I either lessen or increase the clarity. In deserts, I lessen the clarity to give a softer effect, while in mountainous areas, I increase the clarity to highlight the landscapes
ADVANCED EDITING TECHNIQUES
Temperature
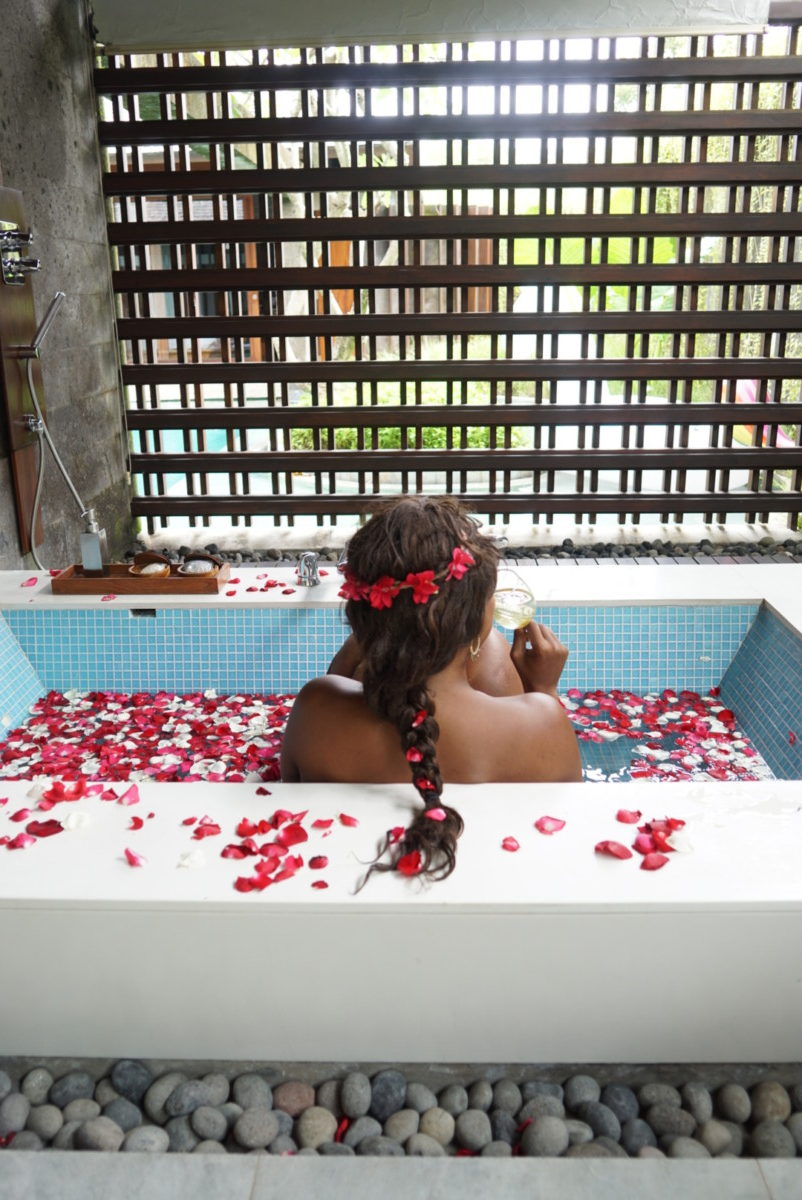
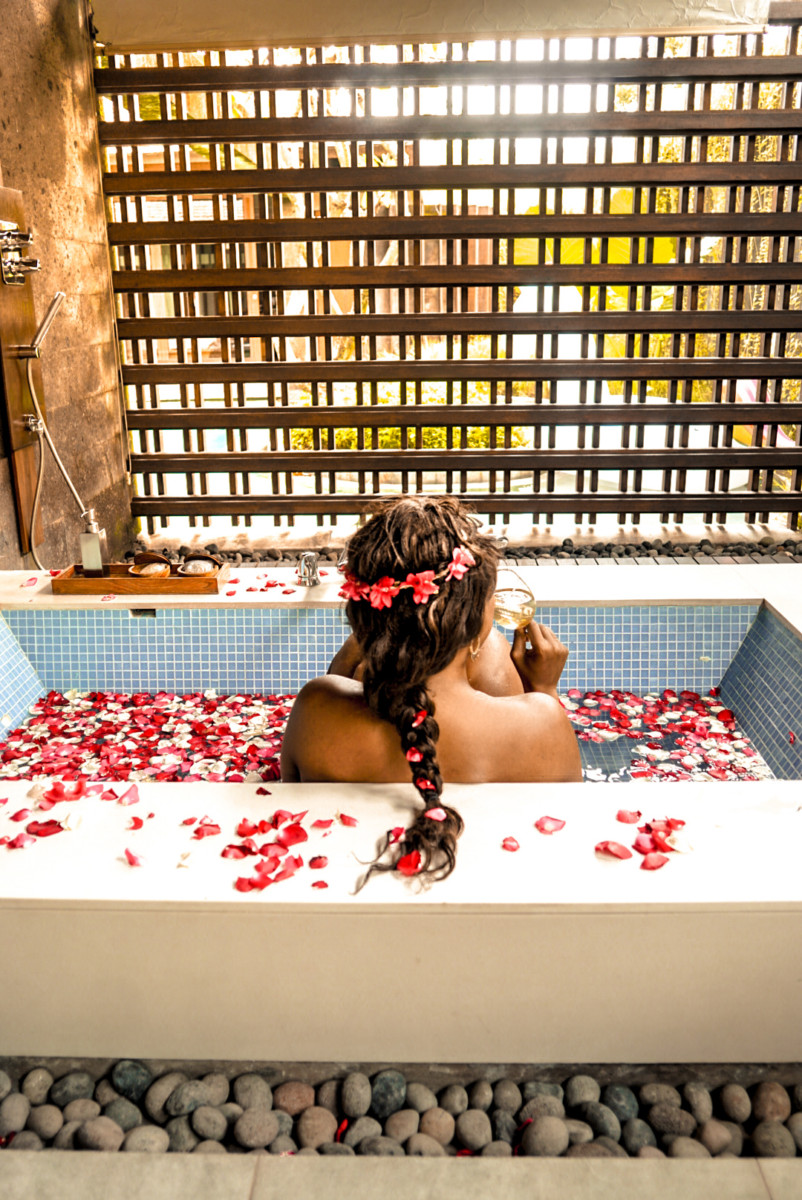
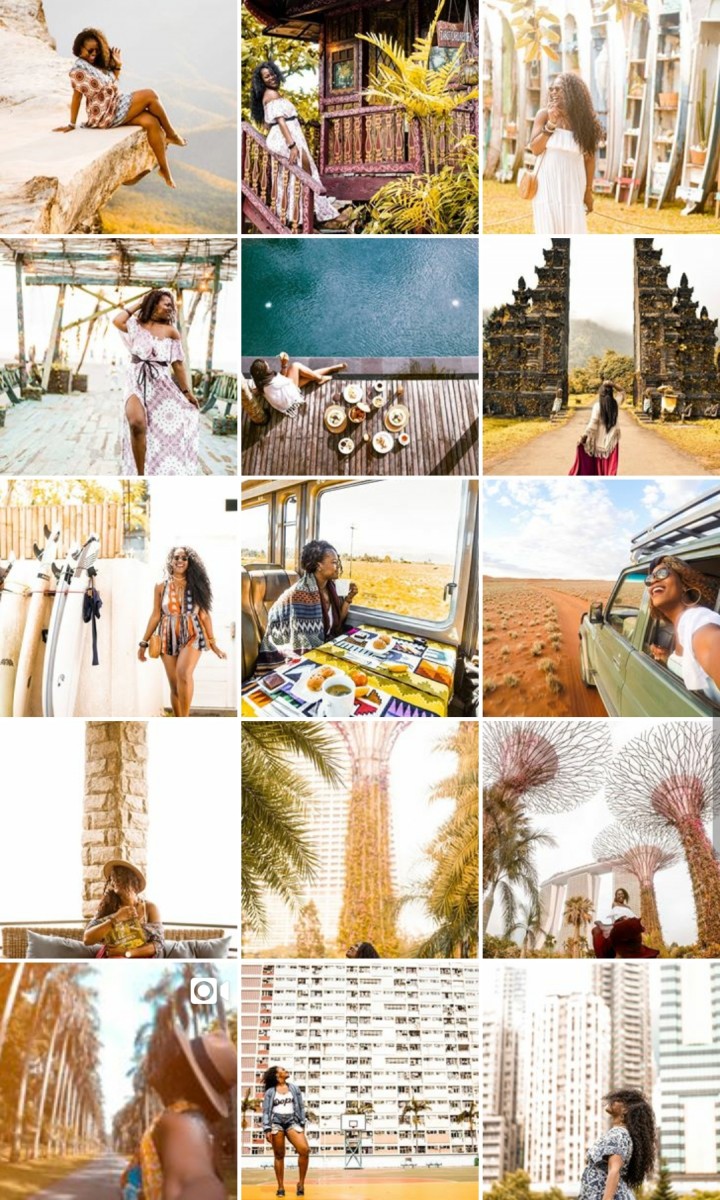
With my Instagram gallery, I love to have a consistent warm mood across my images, which means I always increase the temperature and add this sort of yellow hue to overlay my image.
Split Tone
Split tones can make or break an image, and it takes some practice to get used to how they can really impact your image, so use this sparingly.
Color Correcting
This is by far my favorite and maybe the most meticulous feature, because if you can really nail down the tones, saturation, and luminance of a specific color, it can transform a photo like crazy.
When it comes to Instagram, you should try to develop a consistent color grading pattern so that you have a consistent theme on your gallery.
And if you want to copy the exact same editing style from one photo to another, there’s an amazing feature in the top right menu where you can click COPY SETTINGS and then scroll to a new photo and go to the menu and click PASTE SETTINGS.
All the best tips for enhancing your editing skills with Lightroom, found here! Click To TweetDOWNLOAD ADOBE LIGHTROOM FOR MOBILE
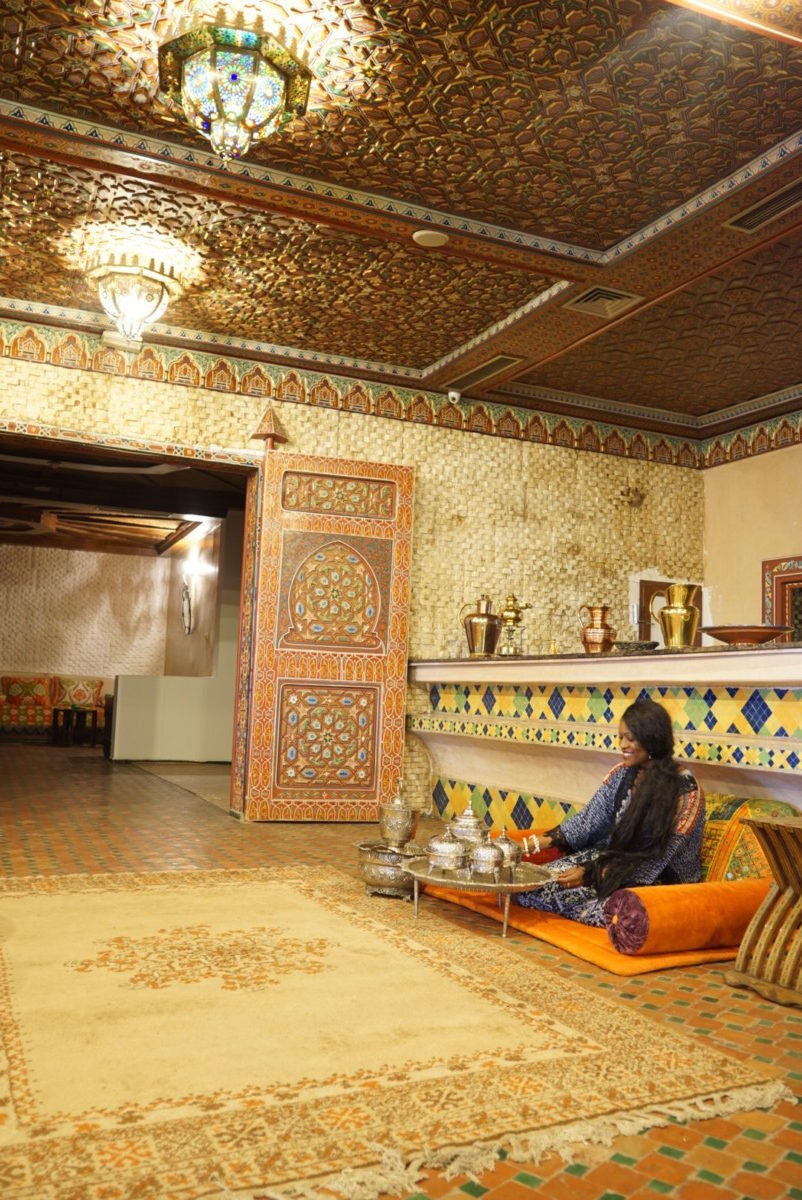
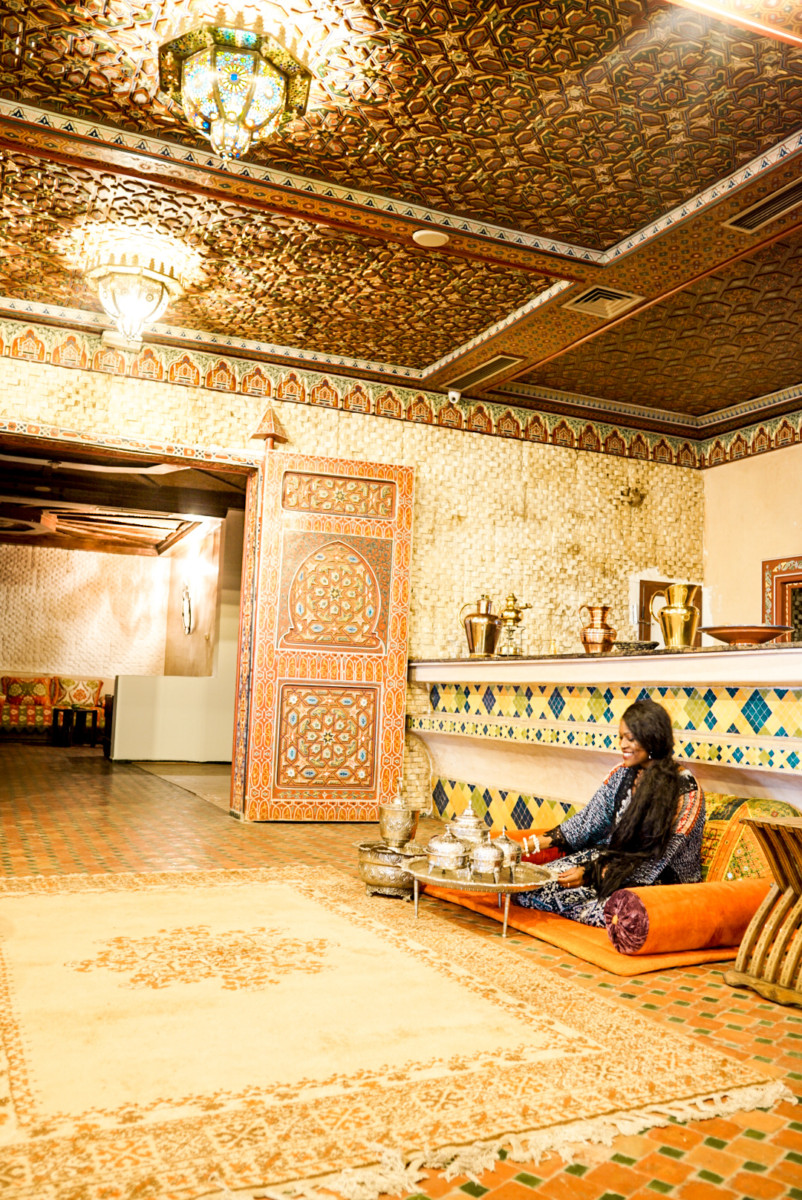
I hope this post helped you guys gain a better understanding of the process of photo editing for many photographers and especially travel bloggers, and for even more inspiration, please check out the YouTube video tutorial I made as well! Lots more tips inside!
